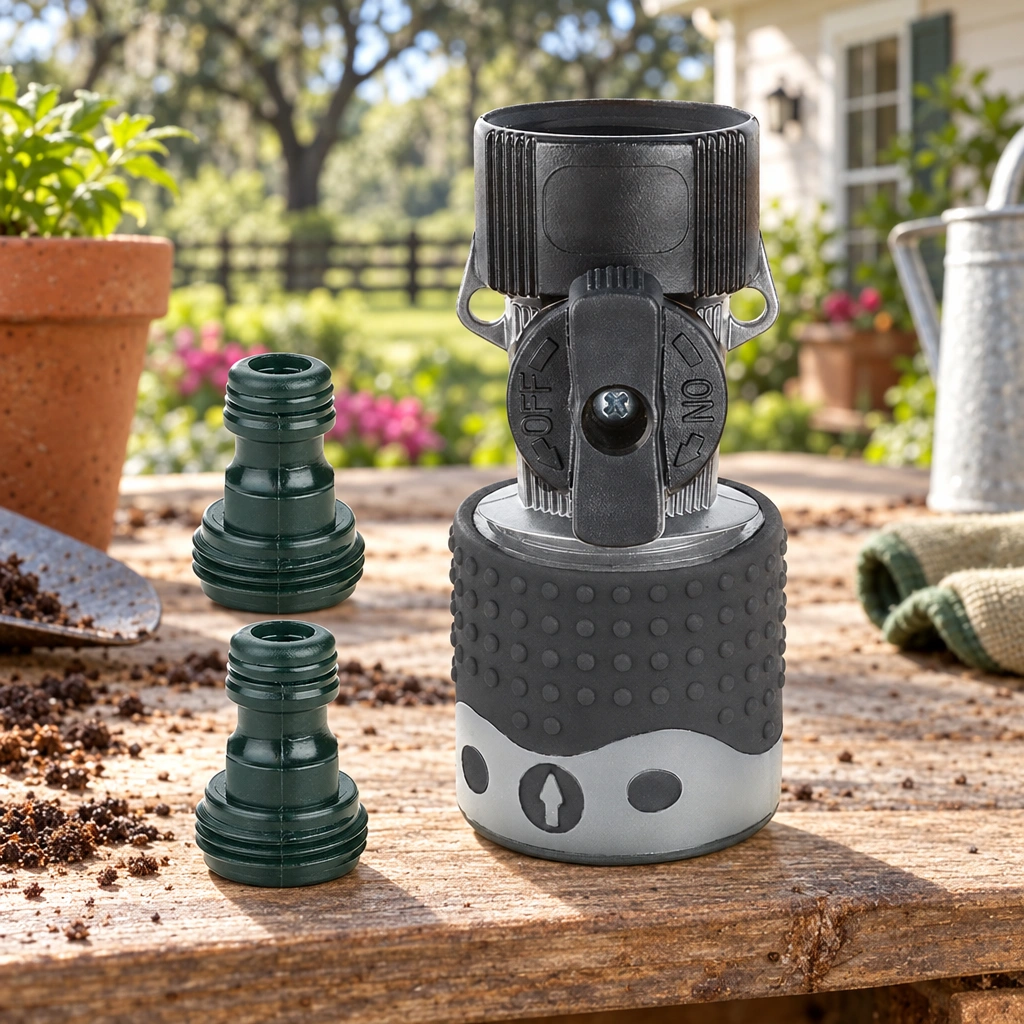
A polymer hose-end connector and accessory adapters for changing watering tools without repeatedly threading them onto the hose.
Change watering tools at the hose end
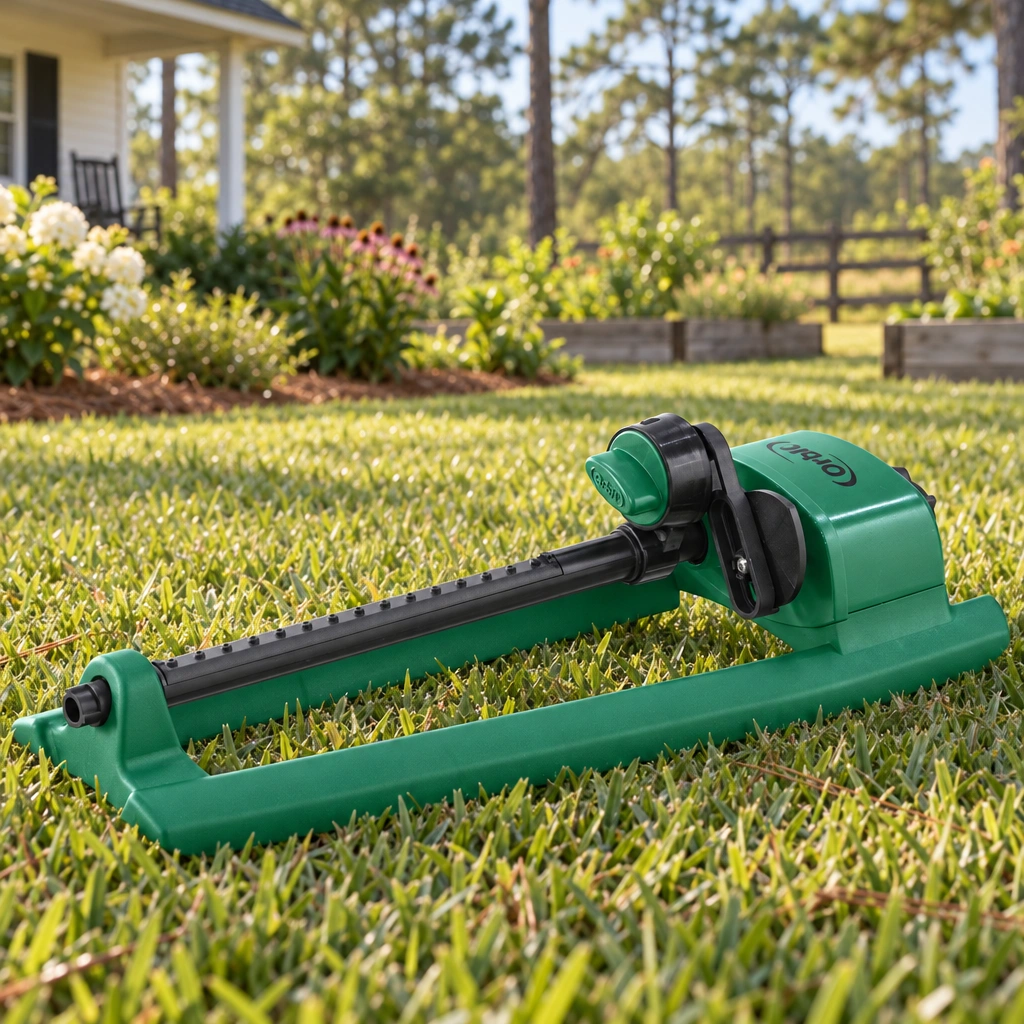
Switching from a sprinkler to a nozzle usually means turning one attachment off the hose and threading the next one on. This Gilmour quick connector set places a separate connection between them. Install the female connector at the hose end and a male adapter on the watering accessory. Once those pieces are in place, you can join the accessory to the hose with the quick connection.
Set up the tools you use most
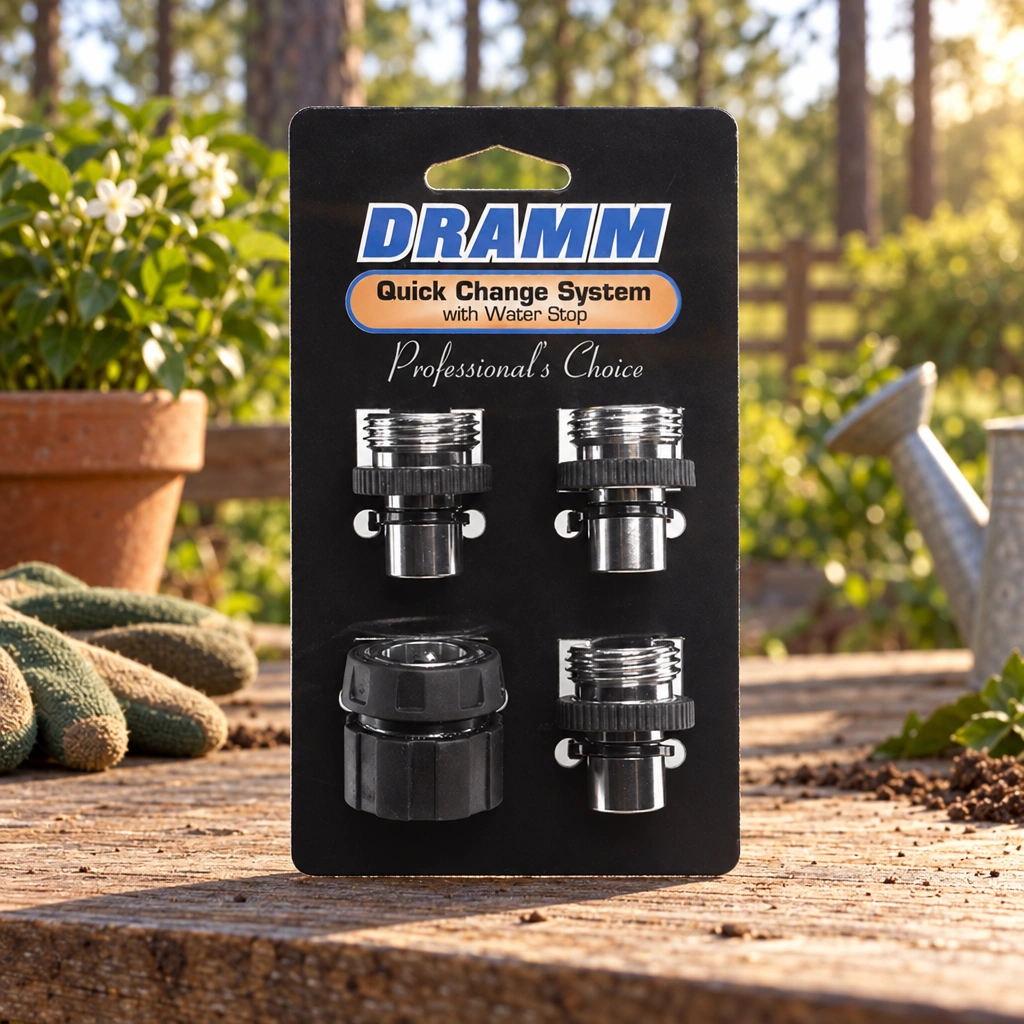
The set includes a female hose-end connector with a shut-off feature and two male accessory adapters. Put an adapter on each of the watering tools you change between most often. The adapters stay with those tools, so the hose-end connector becomes the common connection point. Keep the spare tool close to the work area when a job calls for a different watering pattern partway through.
Polymer construction for garden use
The connector pieces use rustproof polymer construction. They are made for connecting a hose to a sprinkler, nozzle or another hose-end accessory. This is a light-duty watering connector. It is intended to make routine changes easier while keeping the threaded joints on the tools assembled. Check that an adapter is seated properly on the accessory before connecting the two halves.
Check the fit before opening the water
Most polymer quick-connector systems can interchange with this set, but the actual fit still matters. Confirm that the two pieces engage securely before turning on the supply. A threaded hose fitting and a quick connector are different connection points: the adapter threads onto the tool, while its quick-connect end mates with the hose-end piece. Match those functions when laying out the parts instead of trying to thread the quick-connect end onto an attachment.
How to use it
Turn off the faucet before installing the hose-end connector or adapters. Thread the female connector onto the hose and thread a male adapter onto each accessory you want ready for use. Check the threaded joints for a straight start and stop if a fitting binds. Keep the tools and adapters together while arranging the setup, then connect the accessory that matches the job. Turn on the supply and inspect the hose connection and accessory joint for leaks before watering. Shut off the faucet before removing the hose-end connector or making adjustments. Close the supply faucet whenever you need to disconnect or reposition the fittings. Store the adapters with their accessories so the matching connection is easy to find next time.

 Ask Daisy