A fence you can't see is a fence someone will touch. Put a warning sign on the gate, the charger and the corners, and anyone walking up sees the warning before the shock does. This Dare sign is printed on both sides, so it reads from either direction, whether you're coming in or heading out. The black lettering on a yellow background stands out on a post or gate in daylight.
It measures 4 by 8 inches, which fits a post or gate without crowding the fence. Plastic wipes clean when mud splashes up, so a bit of dirt doesn't hide the message. Two pre-drilled holes let you nail it to a post or hang it from a wire. The pack contains three signs, enough to mark the main gate, the charger and the back pasture entrance.
Highlights
- Printed on both sides, so it reads from either direction
- Black lettering on a yellow background
- Plastic that wipes clean
- 4 by 8 inches, a size that fits posts and gates
- Two pre-drilled holes for nailing or hanging
- Three signs in the pack
Why mark every electric fence
Electric fence is easy to forget once it's up. A new hand, a visiting farrier, a kid or a neighbor may not know the wire is hot, and a warning sign works every hour of the day. Marking the fence is cheap insurance, and it keeps visitors from learning the hard way.
A double-sided sign suits gates and corners, where people come at the fence from both directions. Plastic is a practical choice for farm signs. It's light, it won't rust like metal, and it wipes off once the mud dries. At 4 by 8 inches, the sign hangs at eye level on a post without getting in the way of the latch.
Three signs in a pack means you can mark the whole fence line in one trip, which is the easiest way to make sure no gate gets skipped.
At a glance
| Material | Plastic |
|---|
| Height | 4 in |
|---|
| Width | 8 in |
|---|
| Lettering color | Black |
|---|
| Background color | Yellow |
|---|
| Style | Double-sided |
|---|
| Holes | Two pre-drilled |
|---|
| Contents | Three signs |
|---|
How to use it
Mount each sign where a visitor first meets the fence, facing the way people walk up. Use the pre-drilled holes and fasten the sign firmly so wind doesn't turn it around.
- Find the approach. Stand where a visitor would come up to the fence and pick the spot where the sign is clearly visible.
- Nail or hang. Use the pre-drilled holes to nail the sign to a wood post, or hang it from a wire with a fastener.
- Repeat at gates and corners. Mark each gate, corner and charger so the warning shows wherever people touch the fence.
- Wipe and check. After mud season or a storm, wipe the sign clean and check that it's still tight and facing out.
Good to know
- Put the sign on the side people approach from, not behind a post where it's hard to see.
- Keep a pack in the barn, so the next new gate gets marked the day you build it.
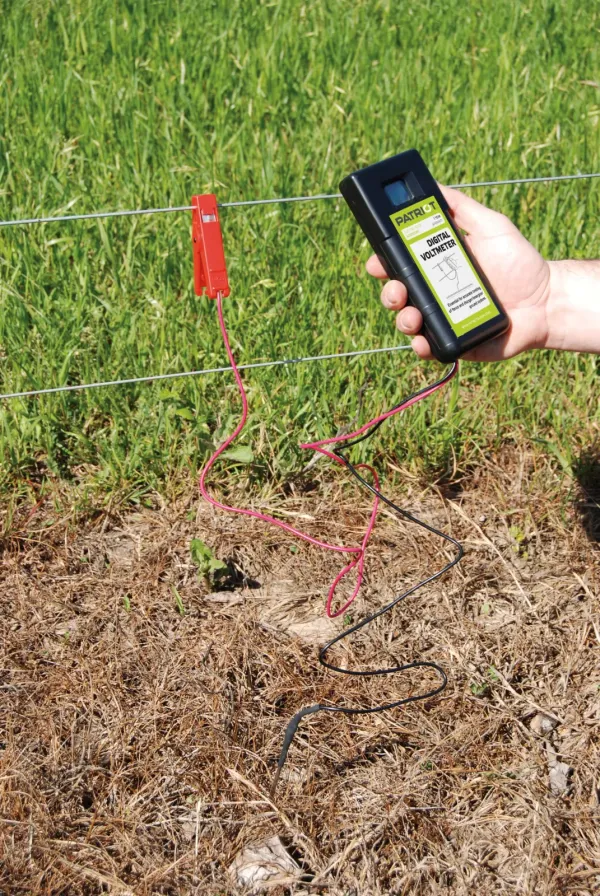
- Pair the sign with a fence tester from the same aisle, so you know the wire is hot before you trust the sign.
Mark the fence this week, before the next visitor walks up to it.



 Ask Daisy